


Minisplit Replacement in Coolidge, AZ
Welcome to our website, where we offer a range of services tailored to meet your needs. Explore our offerings and discover how we can assist you today.
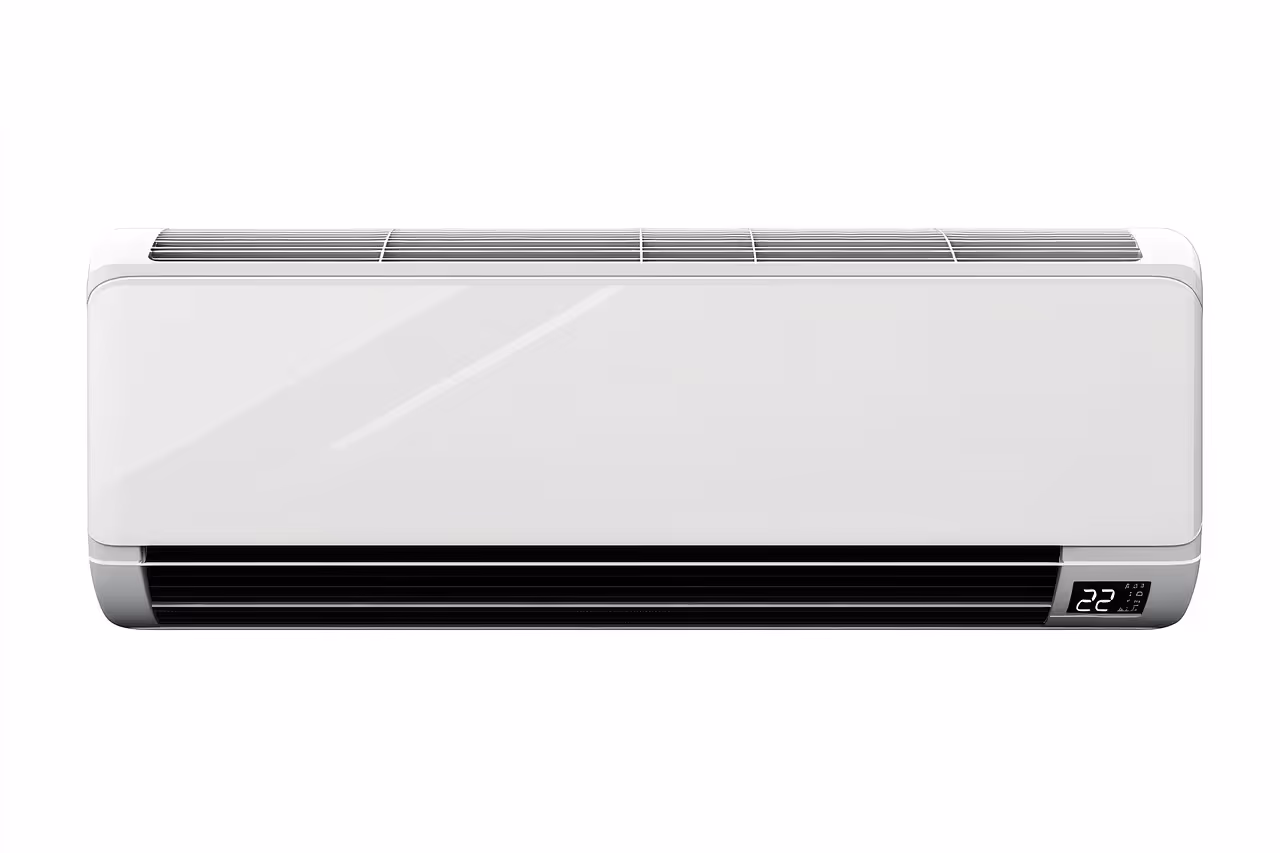
.webp)
Mini-split replacement in Coolidge, AZ, helps homeowners improve comfort, energy efficiency, and system reliability in the hot desert climate. Replacement is recommended when systems show reduced performance, frequent breakdowns, or outdated technology. Professionals use a Manual J assessment to accurately size the new unit, whether upgrading to a multi-zone system or a heat-pump capable model. The step-by-step process covers equipment disposal, installation, system commissioning, warranty transfer, and guidance on available rebates. Homeowners also receive maintenance tips to preserve efficiency and longevity. Proper sizing, high-quality installation, and attention to long-term performance ensure optimal comfort, improved humidity control, and energy savings.
Minisplit Replacement in Coolidge, AZ
Replacing an aging or underperforming minisplit in Coolidge, AZ is a practical step to restore comfort, reduce cooling costs, and improve indoor air quality. In this part of the Phoenix metro area, prolonged high temperatures, frequent dust, and seasonal monsoon humidity make efficient ductless systems especially valuable. This page explains what a full minisplit replacement involves, common reasons homeowners choose replacement, the step-by-step process, warranty and rebate considerations, downtime expectations, and maintenance tips to keep a new system running reliably in Coolidge homes.
Why replace a minisplit in Coolidge, AZ
- Older minisplit units lose efficiency over time and can struggle during triple-digit summer days, causing higher electric bills.
- Refrigerant leaks or compressor failure are common end-of-life problems that often make replacement more cost effective than repair.
- Changes in space use, room additions, or better insulation can require a different system size or additional indoor heads.
- Newer models deliver higher SEER/HSPF ratings, better humidity control, quieter operation, and smart controls that match modern comfort needs.
Common minisplit replacement scenarios in Coolidge
- Complete outdoor compressor failure or unrepairable compressor damage.
- Repeated refrigerant leaks or unavailable refrigerant for an older R-22 system.
- System undersizing for added living spaces or converted rooms.
- Corroded outdoor units from windblown dust, grit, and seasonal storms.
- Desire to upgrade to multi-zone systems or add heat pump capability for year-round comfort.
How we size and select the right replacement
Proper sizing matters more in Coolidge where peak summer loads are extreme. A correct replacement uses a load calculation rather than rule-of-thumb estimates:
- Conduct a Manual J style heat gain and loss assessment for the space to determine cooling and heating capacity needs.
- Consider solar orientation, window types, insulation levels, and occupancy patterns common to local homes.
- Account for indoor layout and preferred zoning—single-zone for individual rooms, multi-zone for open-plan or multi-room coverage.
- Select equipment with efficient ratings appropriate for Arizona climate and the desired noise and humidity control levels.
Replacement process — step by step
- Pre-replacement assessment
- Inspect existing indoor and outdoor units, line sets, electrical connections, and mounting hardware.
- Verify refrigerant type and volume, and determine if line set length and capacity match new equipment needs.
- Review local permit requirements and any HOA constraints typical in Coolidge and surrounding Pinal County neighborhoods.
- Scheduling and downtime planning
- Plan replacement during cooler parts of the day when possible to reduce discomfort.
- For single-zone swaps, expect most replacements to take a half to a full day. Multi-zone or complex reconfigurations may take one to two days.
- Temporary cooling advice: close off unused rooms, use fans, and hydrate. Coordinate work to minimize disruption during peak heat hours.
- Safe removal of the old system
- Recover refrigerant per EPA regulations using certified equipment.
- Disconnect electrical power at the service panel and safely isolate circuits.
- Remove indoor heads, outdoor compressor, and associated line sets and condensate piping with care to avoid damage to walls or finishes.
- Installation of the new system
- Mount new indoor heads or multi-head layout according to airflow and aesthetic considerations.
- Install the outdoor condenser on a stable pad or wall bracket suitable for dusty, high-heat environments.
- Run new line sets, electrical wiring, and condensate drains sized to manufacturer specifications.
- Evacuate the refrigeration circuit, perform a vacuum and leak test, then charge the system to the correct refrigerant level.
- Commissioning and user orientation
- Start the system and verify operation across modes, check superheat/subcooling, and confirm proper airflow and temperature differential.
- Program controls and thermostats, explain operation, maintenance access, and filter cleaning to homeowners.
- Provide documentation for model numbers, serials, installation date, and any warranty registration advice.
Disposal, environmental and warranty details
- Proper disposal: Old compressors and refrigerant are handled according to federal and state environmental regulations. Metals and plastics are recycled when possible and refrigerant is reclaimed by certified technicians.
- Warranty transfer and registration: Many manufacturers require registration within a set period after installation to activate warranty coverage. Keep installation records and receipts; some warranties transfer to new owners but may have conditions.
- Rebates and financing: Homeowners in Coolidge may qualify for local utility or state energy-efficiency rebates and incentive programs when installing high-efficiency minisplits. Many financing options exist for energy upgrades; check program eligibility and required documentation prior to installation to maximize savings.
What to expect for downtime and performance after replacement
- Typical downtime: Single-zone replacements often finish within a day, multi-zone or structural changes can extend to one or two days. If indoor piping or wall repairs are needed, add time for patching and finishing.
- Immediate benefits: New systems typically restore cooling capacity, lower energy use with modern compressors and controls, and improve humidity handling during monsoon season.
- Post-installation checks: Expect a brief follow-up for fine-tuning refrigerant charge and airflow after a few weeks of operation to account for seasonal differences.
Maintenance and longevity in Coolidge conditions
- Regularly clean or replace filters every 1-3 months depending on dust levels.
- Inspect outdoor unit for dust buildup and clear a 2-3 foot perimeter to maintain airflow; consider a seasonal light rinse when power is off.
- Schedule annual preventive maintenance to check refrigerant levels, electrical connections, and drain lines — this preserves efficiency and extends equipment life.
- Address rust, loose electrical connections, or unusual noises promptly to prevent larger failures during peak summer demand.
Replacing a minisplit in Coolidge, AZ involves more than swapping hardware. Proper sizing, careful removal and disposal, correct refrigerant handling, and accurate commissioning are key to reliable performance in the local climate. With the right replacement plan and ongoing maintenance, a new minisplit can provide efficient comfort, better humidity control during monsoon season, and lower energy bills for years to come.